20, Connecting the piston.
Firstly turn the engine so that two of the con rods are as high as
they can be, then feed the pin partly into the piston, then align it with
the top of the rod (sometimes called "small end"), then push it through.
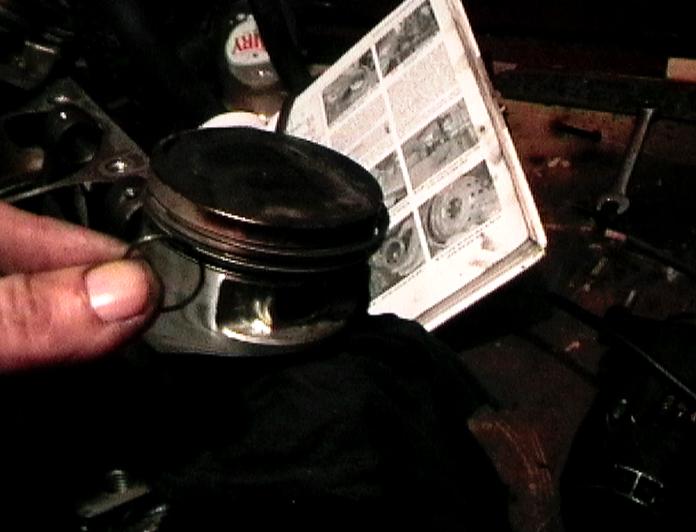
Have left one circlip (held in my fingertips in photo) on the other side
of the piston, so the pin cannot fall through. Then place a cloth under
the piston, and cover the gap underneath to stop from the other circlip
from falling into the sump. Then fit that in the groove into the piston
to the pin slipping this side.
If possible always use the same piston and gudgeon pin (wrist
pin) with the same connecting rod. |
|
Rings, pins & pistons
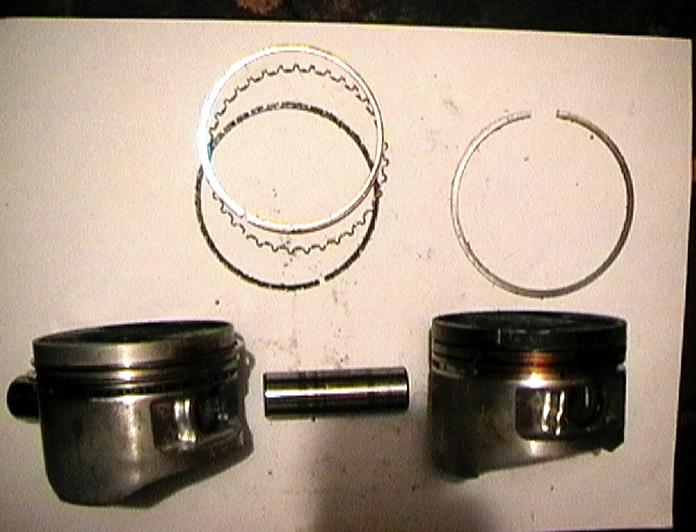
When buying rings they usually have a mark on each of the rings,
the mark goes on the top side. The oil ring is made in three pieces and
goes in the lowest of the three grooves. |
 |
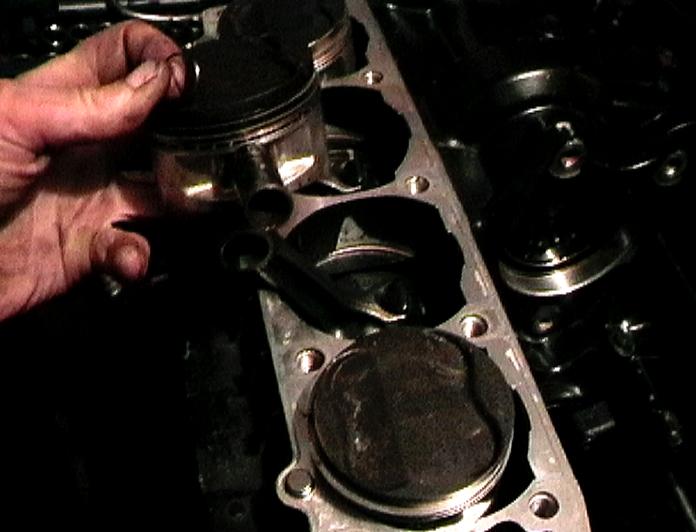
| 21, Then turn the the crank through 180 degrees, until the other two
pistons are as far up as they can be, and repeat the operation for the
remaining con rods.
22. Then place the base gasket into position, making all dowels are
on position either in the crank case or the lower part of the barrels |
|
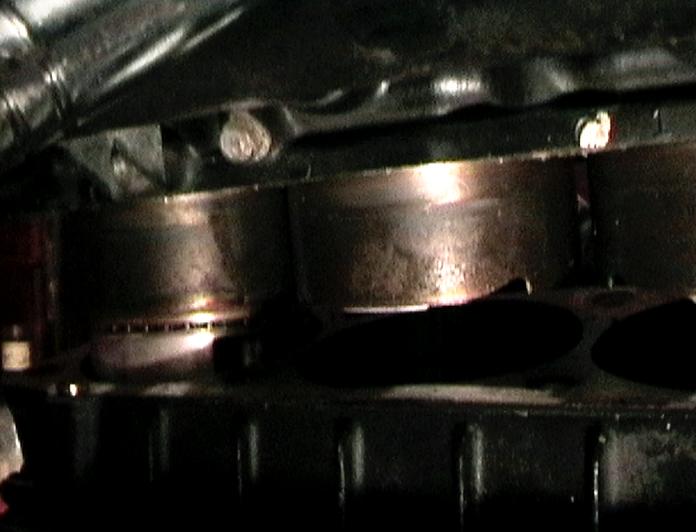
23. Fitting the barrels over the pistons.
Gently place the barrels over the center pistons, making sure
the scraper rings do not get damaged. Using a small screwdriver,
gently press the rings into the piston, there are three notches in the
lower of the barrels to help locate them properly, then do for the oil
feed rings, then make sure all the holes and dowels align correctly, and
place the barrels into place. |
|
| 24, Feed the two cam chain tesioner blades into place, the shorter
one goes into the rear of the engine and two pegs fit into two grooves
into the head. The longer one fits in the bottom of the engine just above
the timing plate.
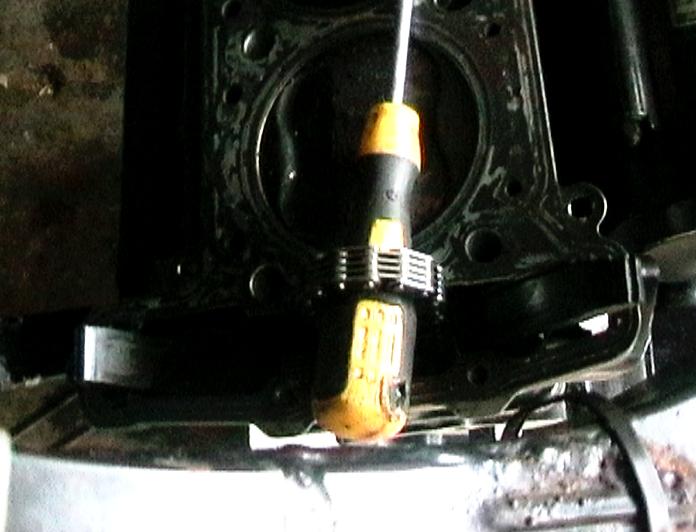
25, Place the head gasket into place. and feed the cam chain into the
tunnel, use a screwdriver or similar to stop it from dropping too far. |
|
| 26, align the cam chain with to the teeth in the crank, then secure
the lower chain guard into place using the two bolts.
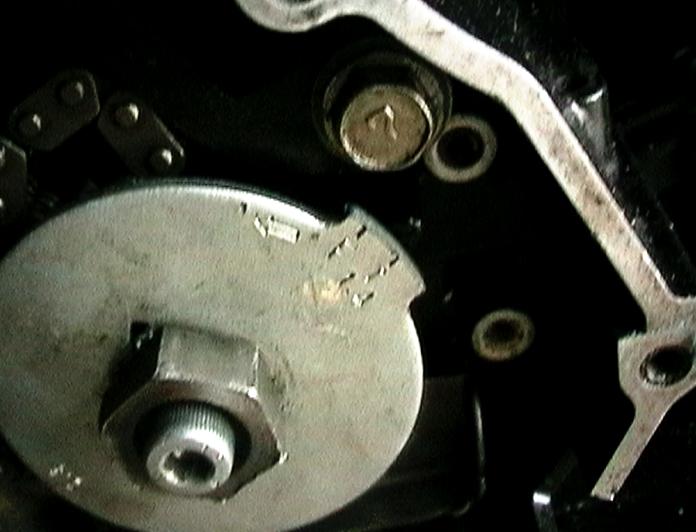
27 Hold the timing plate into position so the dowel shows through the
recess in the center, and add the special nut. This nut has no thread,
but is placed onto the plate so the dowel goes into the recess in the lower
of this nut. The tighten the allen bolt in the center of the large nut.
Note, the smaller nut in the photo holds the longer of the cam
tensioner bolts in place. |
|
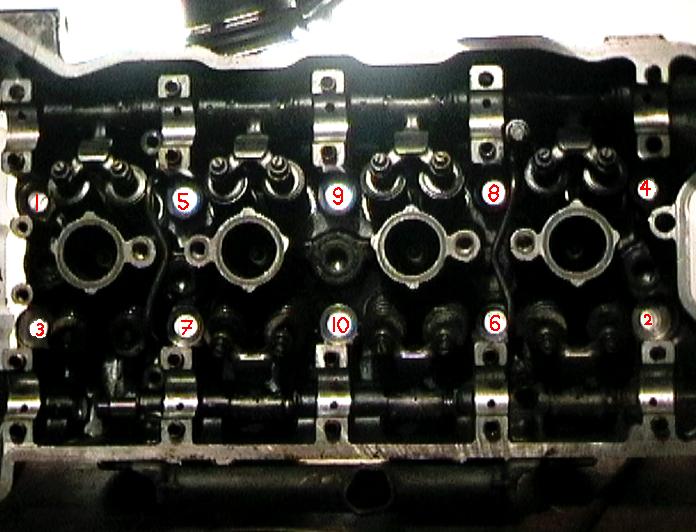
| 28, Place the headbolts into place, then tighten finger tight, then
half correct tightness (about 15kg/m of torque) in sequence as shown
in the photo., then tighten full tightness (29kg/m), again in sequence.
This is to lessen the risk of warping the head. |
|
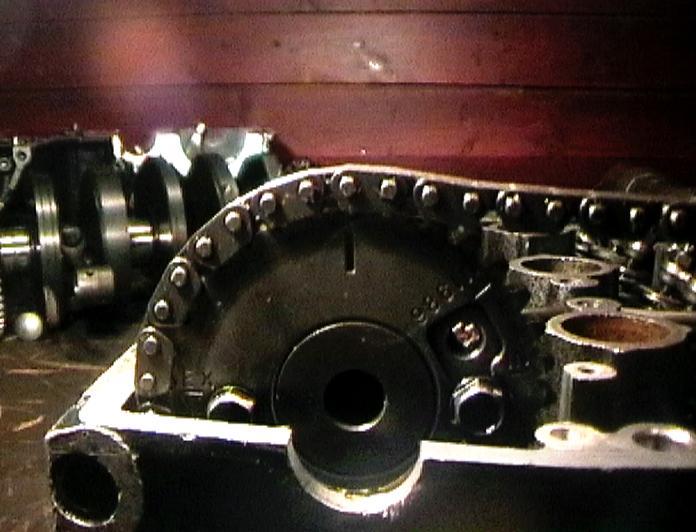
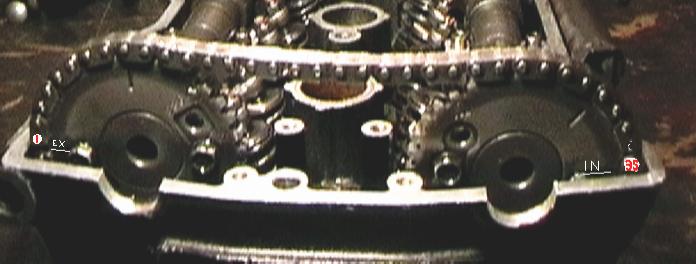
| 29, pull the cam chan tight on the exhaust side and feen in the exhaust
camshaft (stamped with an EX, so you can't get them wrong) and line up
the mark below the mark below the EX on the cam sprocket |
|
30, Noiw feed in the exhaust cam into the chain, and make sure the
in mark is level with the casing edge. then count 35 pins of the chain,
starting from just above the EX mark. Ending just above the IN mark
NOTE! If you are going to strip any top end with a double overhead
cam. Turn the crank so you can see the mark on the timing plate, set it
to TDC (Top Dead Center) for 1 and 4, then check to see if you can see
any marks, if you can't see tnat seem to be in aleignment, then turn the
crank another 360 degrees. Remember, or write down where there are,
and count how many pins between the marks. It's not the same for a zx10b
or later. |
|
and of course, you have to adjust all 16 tappets (and, yes, I said
tappets, Bucket and shims came later with the ZX10B engine, I prefer tappets
as you can set them without having to wait for spares), fit into the frame
fill with the right of oil,, set up carbs, refill with coolant, etc, etc,
etc.
I was hoping to get a little clip of it running, but having a bit of
trouble linkin the vid I have of me on it.
I had this machine for a few years.

Try the down load. free of virus' and logos' and ad's and very short.
Just click on the photo above
|

